21 Uses for Stitch Markers in Knitting
I love my stitch markers. I've been posting images of all the uses for stitch markers on Instagram/Facebook and I'll be putting them all together in this blog post, so it's easy to refer back to.
Stitch Marker Use #1 - Mark the beginning of the round
This one is fairly obvious use. If working in the round, you need to know where the beginning is.
Where to put the marker:
On the needles is easiest. Just be careful not to knit them in, by making sure that any extra part of the stitch marker is on the opposite side to your yarn when you work past it.
If you struggle with knitting in your markers, round ones are best.
Stitch Marker Use #2 - Written in the Pattern
As with my pattern, Barque, a lot of patterns include the use of markers in the instructions. A clear pattern will tell you when to place them, when to slip them and when you can take them out again.
Designers use markers in the instructions to simplify the pattern. I could spell out to you every row or I can just say work to the marker as that stays in the same position even if the stitch count has changed. In Barque, there is just one marker that indicates the central spine.
Where to put the marker:
Definitely on the needles where the pattern instructs you to and slip the marker from one needle tip to the other when you get to it.
Not dissimilar to the previous use but not every pattern will tell you to use stitch markers. Use them where you need to increase or decrease, so you don’t have to keep counting stitches or check where you are.
There are one or two exceptions to this. For example, a centered double decrease makes it difficult as the stitch marker will get caught up in the decrease. You can either move the marker every time or maybe put the stitch marker in the fabric (though I find you don’t get the same reminder this way). Or failing all else, change the decrease to a pair of increases instead.
Stitch Marker #4 - Marking the Right Side
This cutie little ghost stitch marker was given to me by Jen's Crafty Charms.
When your fabric is identical on both sides e.g. garter stitch. Just pop a marker into the fabric on the right side, so you don’t get it mixed up.
I use this technique at the beginning of toe-up socks and put a marker in the fabric for the front of the sock. You have such a teensy bit of toe and adding a marker onto the needles can get in the way a bit. Popping it into the fabric instead (at least for the first bit of the toe) makes it a little easier to manage.
Stitch Marker #5 - Marking Armholes
There’s two reasons why you’d want to do this. The first will often tell you to in the pattern. The body in drop shoulder patterns are completely straight, so you don’t know where to join the sleeve. They should tell you to mark where to join the shoulder.
The second reason is what’s happening in the photo. I mark the row where the armhole shaping starts, normally a few inches in from the side. That way you can measure from the marker to the needle and get a more accurate measurement (as you can measure straight). Plus you can count rows from the marker, so the front matches the back.
Where to place the marker:
A few inches into the row and into a stitch on the row where the armhole shaping starts
Stitch Marker Use #6 - Counting Rows
There’s barely a project where I don’t use this technique. I don’t use a stitch counter and just count the rows that I’ve done after the fact. To stop having to count and re-count all the time, I put a marker in every 20 rows. Sometimes, I’ll mark every 10 rows if that will work better.
It means that if you are making a pair of socks or something with a front and back then they will be the exact same length, as they will have the same number of rows.
I have a little batch of stitch markers attached to every knitting bag and in my handbag, so I always have some with me.
Where to put the stitch markers -
Into the fabric every 20 rows. I tend to place them into the centres of two adjacent stitches. That way if they get caught on anything, it won’t pull the stitch easily.
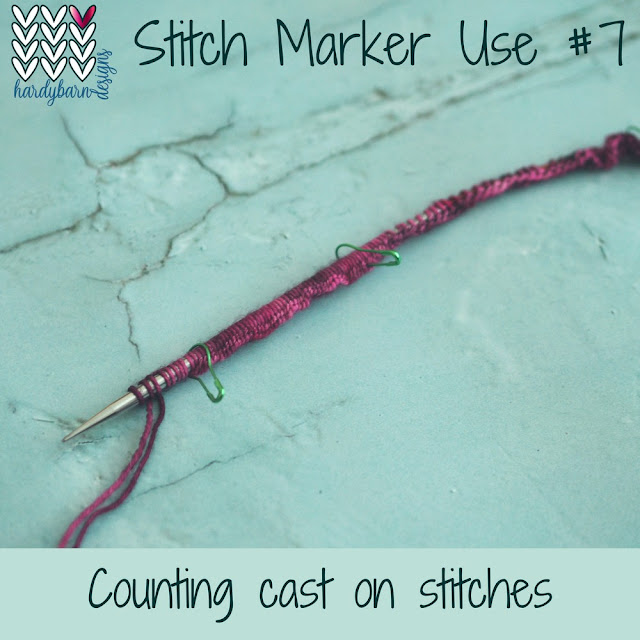
Stitch Marker Use #7 - Counting Cast On Stitches
Have you ever had to cast on 100s of stitches and have to keep recounting because you lose track? This is perfect. Just put in a marker at regular intervals and you don’t have to keep recounting. I tend to do every 50 stitches but 20 would work too.
It’s also really helpful when checking your stitch count too. I don’t know about you but 60 stitches is about as much as my attention span can work with.
Stitch Marker Use #8 - Where to Stop Increasing/Decreasing
I love this one. It does take a little working out on the knitter’s part but 5 minutes to work it out and you can just relax, knit and not worry about when you need to stop increasing or decreasing.
It works best for decreasing, so great for sock gussets. For example, I have to decrease 13 pairs of stitches away for the gusset. I’ll place a marker 14 sts in from the decrease (maybe place a marker there too, if it’s not in an obvious place). Keep working your decrease rounds until the last decrease is next to the marker and you didn’t have to think about it. Always double check your stitch count at this point, just in case the marker wasn’t in the right spot.
Increases work in a similar way, though the reminder isn’t so obvious. In the photo, I’m working a toe-up sock and need to do 14 increase pairs. These are worked 1 stitch in from the end of the needle. When I started, I placed the marker that one stitch in. When there are 15 sts between the marker and the end of the needle then I’ve increase enough.
It’s not quite as helpful but counting to 15 is a lot quicker than 64. You can break this up too by adding more markers e.g. once you’ve increased 10 sts, place another marker; that way you only need to count to 5.
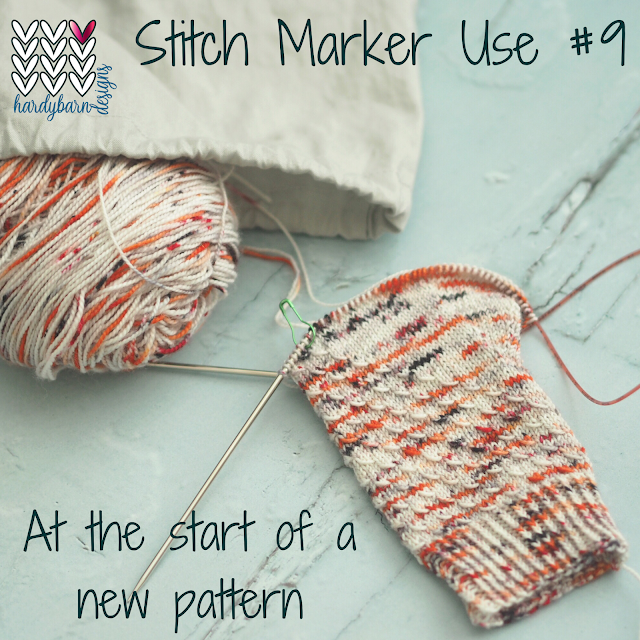
Stitch Marker Use #9 - At the Start of a New Pattern
This one is particularly useful. The mitts Dealas by Liz Corke in the picture have a large section of stocking stitch and then a patterned section. Using the marker means you can just knit, knit, knit until you hit the marker. The marker then reminds you that the knitting needs to change. Makes the process a whole lot more relaxing as you’re not continually checking your progress in the row.
Where to put your maker:
On your needle, just before any change in pattern. Slip the stitch marker when you reach it.
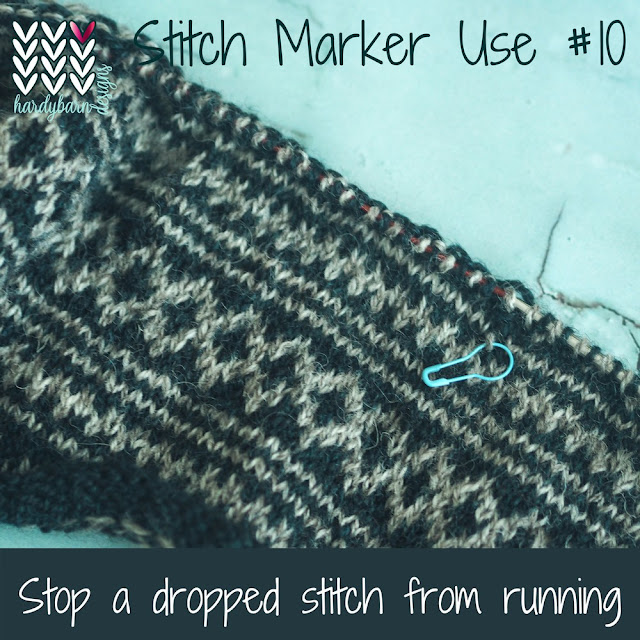
Stitch Marker Use #10 - Stop a Dropped Stitch from Running
If you’re like me and have markers everywhere, then if you spot a dropped stitch and your needles are nowhere near it. Pop it into the stitch to stop the problem getting worse.
This can be useful, if you’ve spotted a mistake and need to drop it down to fix it. Place a marker in the stitch underneath the mistake. That way when you drop it down, it can’t run any further than you want it to.
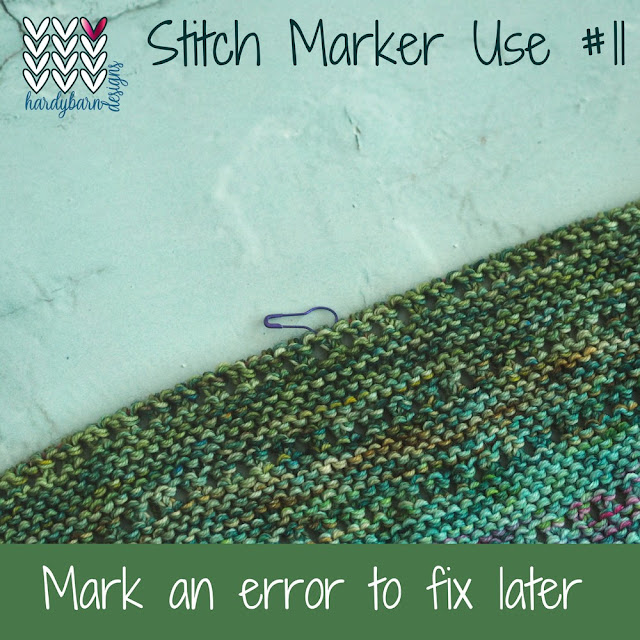
Stitch Marker #11 - Mark an Error to Fix Later
This one has saved me on numerous occasions. I’ll sometimes spot a mistake on my knitting when I’m not working on it or the needle tips are a long way from the mistake. If you pop a marker into the stitch on the needle above the mistake, then you can’t knit the stitch easily. You hit the marker and think huh? what’s that there for? Occasionally, I’ve done this months previously on a WIP and coming back to it, I can’t forget that I need to sort something.
It’s particularly useful when working with two strands. It’s very easy to miss the second strand and every now and then I’ll scan my knitting to check for those dropped strands. I’ll just pop a marker into the top of the column and when I get to that stitch, then I can drop it and fix it.
Stitch Marker Use #12 - Mark Stitch Pattern Repeats
This can be really helpful to keep track of the pattern that you’re working on. It’s particularly useful for lace.
If you’re working a lace pattern that has an 8 stitch repeat across the row. Place markers between each repeat. This means that you can check that you’re ending each repeat in the right place and if there is a mistake#11 , you can easily check that there are still 8 stitches between each marker. Hopefully, you’ll spot the mistakes quicker.
There are some downsides, especially with lace and cables. With both these techniques, the stitches can move across the row and across those markers. This can mean that it looks like a mistake, when all that’s happened is the stitches need to move across the markers. If you’re aware of this, then just move the markers to accommodate.
Stitch Marker Use #13 - Counting Armhole Decreases
This is another technique that means you don’t have to keep counting.
Have a marker for each decrease/increase that you need to do. For example, I need to decrease 14 pairs of stitches on a sleeve. I have 14 markers. I attach these in a bunch onto the knitting and place one into decrease or increase when I complete one. That way I just continue until I've used up all the markers.
That way you can see your progress at a glance and it’s hard to miss doing an increase. Plus you don’t have to row count as you can just count from each marker.
Where to place the marker -
Into the increase or decrease in your needle after you’ve completed it. If working a pair, then just do this for one of them.
Stitch Marker Use #14 - Lazy Needle Stoppers
Can you guess how I figured this one out?
I needed the needle on this. Weirdly, just the one needle! I was in a rush and couldn’t be bothered to get the proper stoppers out. I grabbed a stitch marker and put it through the keyhole. It works in a pinch.
Stitch Marker Use #15 - Pinning Sides for Sewing
This is about the only one I don’t personally do. I know a lot of knitters who do though. I like to use knitters pins, as the movement with the stitch markers annoys me.
Though the upside is, they’re not going to come undone.
The working practice is to pin your sides and I will always do that when the side needs easing in, such as a set-in sleeve.
I must admit that when I’m working sides that I know have the same row count then I don’t use anything at all.
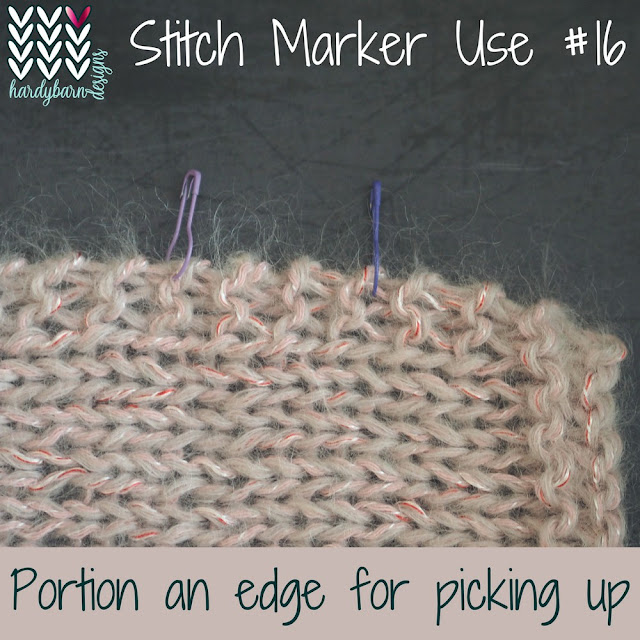
Stitch Marker Use #16 - Portion an Edge for Picking Up
Picking up edges is a part of the pattern that I will often modify to fit my gauge.
However, if you’re trying to achieve an exact stitch count on a picked up edge then it can really help a lot of frustration to break that edge down into sections.
If I need to pick up 200 stitches on an edge. It can be mighty frustrating to get to the edge and realise you need an extra 10 stitches that you can’t fit in.
Using markers to break up the edge means that you can check each section and pull back smaller sections instead of the whole edge to achieve the stitch count you want.
For example, I want to pick up 200 sts. I fold my edge and find the midway point and put in a marker. I repeat that between each marker and mark quarters and maybe even eighths. If I have eight sections, then I need to pick up 25 stitches in each section to get my 200.
When I’m happy with the 25 in each section, I move the marker onto the needle and know that everything before the marker is good.
Stitch Marker Use #17 - Mini Stitch Holders
This has limited uses but can be helpful at times. Here’s few circumstances where I've used this.
🧦 When I finish a sock toe and it needs to be grafted and I don’t have a darning needle. I’ll put the stitches on one (or two) stitch markers and sort it when I have a needle
⭕️ When completing a project in the round, I like to do a sewing technique that makes the join seamless and might just keep it on a marker (like the photo) until I get to it
Stitch Marker Use # 18 - Finding the Centre of Magic Loop
This is a bit obscure and works quite well with my Chiaogoo Twist minis. When finding the centre to pull the loop through at the start of magic loop, I add a maker at that point on the cable. This helps in two different ways - to stop having to recheck your stitch count. I was finding that I was checking my stitch count and then recounting after that to find halfway. With the marker, then I just do this once. Secondly, if you pull on the marker the cable slides out easily - no fighting to get the cable through.
Where to put the marker -
On the cable (careful not to catch any stitches) at the halfway point in magic loop whilst casting on. It can be removed once you start knitting.
Stitch Marker Use # 19 - Progress Keeper
This isn't something that I use very often but if you like to quantify your progress; such as knowing how much you've worked in a day, week, month etc. Pop a marker into the fabric at your current position to see how much you've knitted from the marker. Also, it's an excuse to add some 'jewellery' to your knitting. If you have a marker that makes you smile when you see it, that's as good a reason as any to pop it onto your work and cheer up your day.
Where to put it -
Into the fabric of your knitting at your current position.
Stitch Marker Use #20 - Lazy Needle Key
Bet you can’t guess how I figured this one out?
Suffice to say the stitch markers fit into the hole quite well!
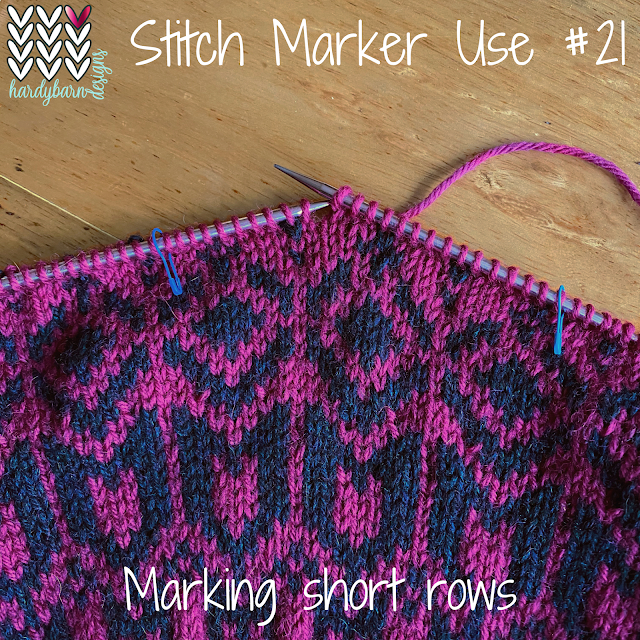
Stitch Marker Use #21 - Marking Short Rows
When you have short rows in a pattern then it makes it a bit easier to mark where you need to turn for a short row.
You can mark this for every turn or just the final one, so you know when to stop. It helps to stop re-counting and re-checking.
This is my final stitch marker use, for now at least. Do you have any that I haven't mentioned?









Comments
Post a Comment